xCAD.NET automatically registers SOLIDWORKS add-in when add-in dll is registered with Regasm tool or build from Microsoft Visual Studio (unless explicitly disabled in the project settings). It is not required to additionally specify build event actions or add registry keys.
Manual Deployment
The simplest way to deploy SOLIDWORKS add-in to other computer is to copy the output of bin directory to the target machine and run regasm tool with /codebase switch:
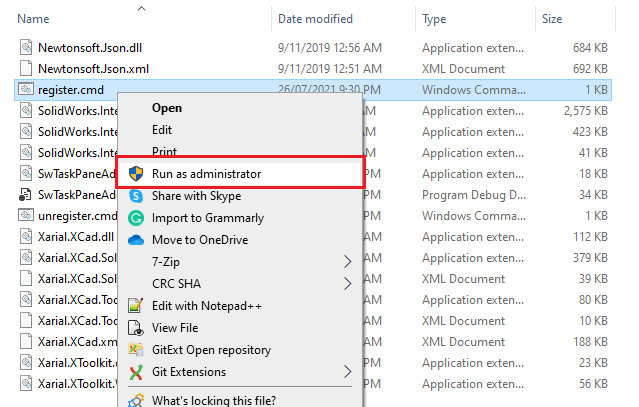
It might be required to run this script with administrative previledges
"%Windir%\Microsoft.NET\Framework64\v4.0.30319\regasm" /codebase "PATH TO ADDIN DLL""%Windir%\Microsoft.NET\Framework64\v4.0.30319\regasm" /codebase "PATH TO ADDIN DLL" /uAdding Command Line Scripts
The process can be improved by creating the .cmd script which can be placed in the output directory. In this case it will be simply required to execute this script from the Windows File Explore.
Content of:
"%windir%\Microsoft.NET\Framework64\v4.0.30319\RegAsm.exe" /codebase "%~dp0[NAME OF THE ADDIN FILE].dll""%windir%\Microsoft.NET\Framework64\v4.0.30319\RegAsm.exe" /codebase "%~dp0[NAME OF THE ADDIN FILE].dll" /uCreating MSI Installers
For more advanced experience MSI-installers can be created. This will enable an installation wizard and allow admin image installation. Product will be availble in Windows Control panel and can be repaired or uninstalled.
There are multiple solutions (free and paid) available.